Avid console gamers know the dreaded stick drift—the frustrating issue where your controller’s analog sticks register movement even when you’re not touching them. This issue can severely affect your gaming experience, causing unintended actions or movements in-game. Before you buying a new controller or sending yours in for repairs, let’s go through the steps you can take to potentially fix stick drift at home.
Step 1: Clean Your Controller
Dust and debris can cause or contribute to stick drift.
- Use a can of compressed air to blow around and under the analog sticks with short bursts.
- Dampen a cotton swab with isopropyl alcohol, and clean around the base of the sticks. The alcohol helps remove dirt and evaporates quickly, reducing the risk of liquid damage.
Step 2: Reset Your Controller
Sometimes, a simple reset of the controller can recalibrate the analog sticks.
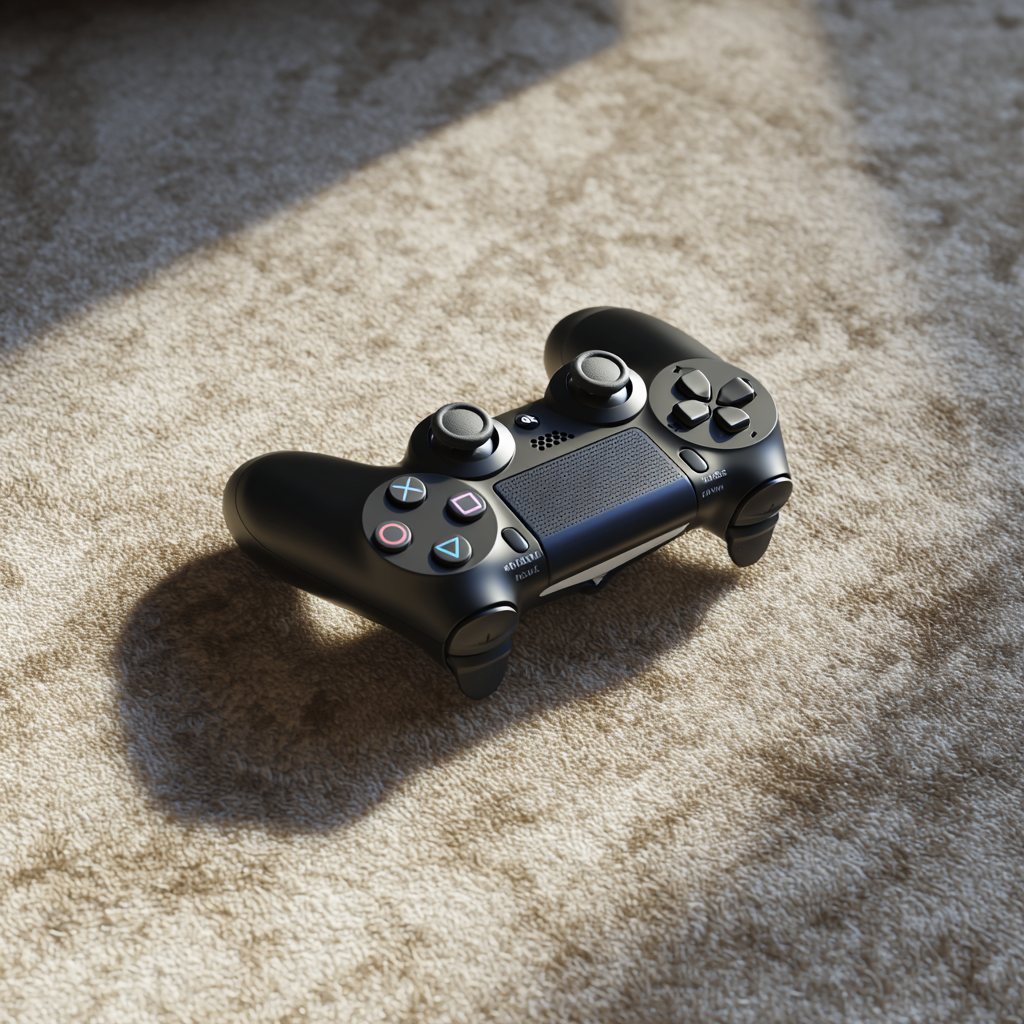
- Locate the small reset button on the back of your controller near the L2 shoulder button.
- Using a small tool like a paperclip, press and hold the reset button for a few seconds.
- Reconnect your controller using a USB cable, and then turn on your PlayStation to re-sync.
Step 3: Adjust Controller Deadzones
Some games allow you to adjust the deadzone of the analog stick within their settings.
- The deadzone is the area where analog stick movements aren’t registered.
- Increasing the deadzone can eliminate minor drifts but may lessen control sensitivity.
Step 4: Update the Controller Firmware
Ensure your controller is running the latest firmware version.
- Connect your controller to your PlayStation with a USB cable.
- Go to the ‘Devices’ menu from the PlayStation Settings.
- If there’s an update available for your controller, follow the steps provided by your console.
Step 5: Re-calibrate Your Controller
Re-calibrating your stick’s center position might solve the issue.
- On PlayStation, some of this is automated. Simply turning off the console and restarting it while leaving the sticks in their natural position can help.
- For a more hands-on calibration, you might need to use specific tools or software provided by third-party vendors, which is typically at your own risk.
Step 6: Check for Hardware Faults
Stick drift can be a sign of a worn-out or broken analog mechanism.
- If you’re comfortable with electronics, you can open up your controller to inspect the sticks.
- Look for any worn-out components or loose parts. In some cases, you might be able to replace the analog stick modules.
- Opening up your controller may void any warranty, so it’s best to do this as a last resort.
Step 7: Contact Sony for Support
If your controller is still under warranty, and none of the above solutions work, Sony may repair or replace your controller.
- Reach out to Sony’s support team, explain the issue, and follow their guidelines regarding warranty service.
Conclusion:
Stick drift can be a gamer’s nightmare, but before spending hard-earned money on a replacement, give these troubleshooting tips a try. It’s worth noting that stick drift can sometimes be a result of normal wear and tear, especially in older controllers. If so, repair or replacement might be the only solutions. But with a bit of patience and some DIY spirit, you can often resolve the issue and get back to gaming at your best.